DIY perfume sample organizer

Thanks to Sephora’s free samples with every purchase, I have been amassing quite the perfume sample inventory. I needed a good way to store and organize these samples, so I commissioned my hubby to create this for me using scrap wood and paint we already had lying around the house. What was supposed to be a quick and painless project was a little more involved than either one of us had anticipated because we discovered that not all perfume bottle samples are the same circumference, and worse yet, Joey didn’t have a drill bit that was a perfect fit. He ended up taking bits of veneer and using them to fill in the holes to make them a close fit. I’m pretty happy with the finished project, and I love being able to see my collection easily.

perfume

Desktop Storage: Odds & Ends

A few ways I am corralling those everyday desktop items that often wind up without a home:

1. A small silver tray w/ cut-out detailing (thrifted, $0.50)

blog 008

now holds my post-it notes in a pretty and easy-to-access manner:

blog 009blog 010

2. Small glasses (thrifted, $0.50/each) fit perfectly on an otherwise useless ledge and hold binder clips, paperclips, and push pins:

001002003

Re-purpose This: Nail Polish Storage

I don’t have a true “before” picture because I came up with this idea before I began a blog, but would you believe that I found the perfect way to store/organize my nail polish from a chocolate container?!

Image

This is the closest image from a google search to show what I started with. The detailing of the lid inspired me to hang onto the packaging:

Image

Unfortunately, I soon discovered that it was impossible (tell me otherwise!) to get the label off. I then started thinking about ways I could use the bottom of the case. The case itself is acrylic, but the bottom is lined with paper, and on top of the paper is that thin/cheap kind of plastic, and that is what divided and held the chocolates in place. I removed the paper and left the plastic sheet on top of the case bottom, and eventually realized it was the perfect size for nail polish (depending on the brand; some fit better than others).

Image

Image

My desk is usually the place I paint my nails because browsing the internet is one of the few things I can do while my nails dry damage-free. This tray actually fits perfectly into one of the cubbies on my desk:

Image

It’s super easy to slide out if I need to, and I can rearrange my nail polishes as needed and put my most frequently used polishes in the front row.

Image

I’m in love with this quick fix because it fits my needs perfectly (previously I had my nail polishes lined up on the shelf, and I had to take them out or move them around to get to the ones I wanted), it’s “on trend” as acrylic storage is all the rage right now, and it was 100% free. My parents were gifted the chocolates from a co-worker and I claimed the packaging once it was empty.

What creative re-purposes of “trash” have you discovered lately? 🙂

High-End Lookalikes

I do believe these may be some of my best Goodwill finds yet. Though, I’m not even sure I can make that claim because I have found so many good scores!

Image

A (faux?) fur throw pillow for $2. I’ve seen in magazines and catalogs (including Pottery Barn’s or West Elm’s, I can’t remember) fur pillows seem to be a new trend.

Behind the pillow you get a glimpse of my even more exciting find:

Image

A slipper chair in the perfect ikat pattern! I spent $60 on this chair which is *definitely* a splurge for me. I jumped on it, though, because I was 100% in love with the pattern, I’m pretty sure the chair is in new condition, and I knew I would probably never buy one down the road because they are just too pricey. After some quick pinterest searching, I found someone had pinned the same exact chair originally from Target (which I suspected). I can’t link to it because it is no longer on Target’s website, but according to the pin the sale price was $230.

I also found an almost exact chair (same fabric, different legs) from Urban Outfitters for $369. (<a href=”http://www.urbanoutfitters.com/urban/catalog/productdetail.jsp?id=20354130b&zmam=39923003&zmas=1&zmac=1&zmap=22839963&cm_mmc=Performics-_-Affiliates-_-rewardStyle-_-Primary&clickid=0004d7096b20fe2d0ae01443ff006ca6″>Link</a&gt;). I’m feeling very pleased with my $60 splurge. 🙂

Image

I threw my fur pillow on top since I didn’t really have a home for it yet, but my husband has since commented he likes it there so there it shall stay (for now). Our living room is kind of tiny, especially since it somewhat doubles as our dining room, so I can’t work the chair into the layout quite as I’d like. For now it lives across from our love seat, next to our TV, and I think it works there. I like glimpsing it as I walk up the stairs, and it does the job of adding some print and color to our living room, while also offering extra seating when we have company.

Works in Progress

Placeholder art at its finest:

Image

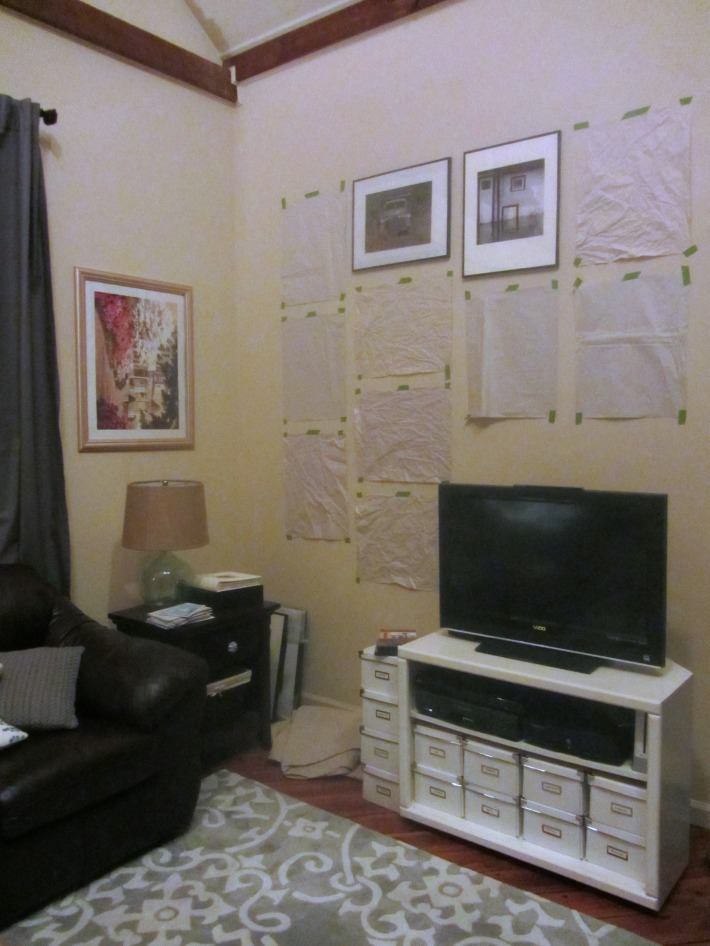
Our living room has huge walls which is both amazing, and a bit of a challenge to fill. After a few months I finally landed on the perfect arrangement, with the help of my husband. I knew I wanted to do a photo collage with photos taken by Joey’s grandmother who is a professional photographer. Since I was trying to use both vertical and horizontal photos and I wanted the end result to be orderly and a grid if possible it took a while to find an arrangement that looked right and filled the space nicely. I played around with the templates on the wall, but then my husband had the bright idea to use regular sheets of paper so we could arrange them more efficiently on the floor. Once we landed on the right layout then we fixed our templates on the wall so that we can easily see where each photo is going. So far we only have two up because the frames are not on sale and add up quickly. (The Oslo collection from Michael’s, if anyone is wondering. Full price is $12.99/each for a 16 x 20 which is what I’m using.) I have been buying one at a time and using a 40-50% off coupon each time. If they go on sale I’ll buy ’em all at once, but for now this is the cheapest solution! The painting on the adjacent wall was a $10 thrift store find that will be turned into a chalkboard (I’ll be spray painting the frame gold) once it warms up enough for me to go outside and spray paint!

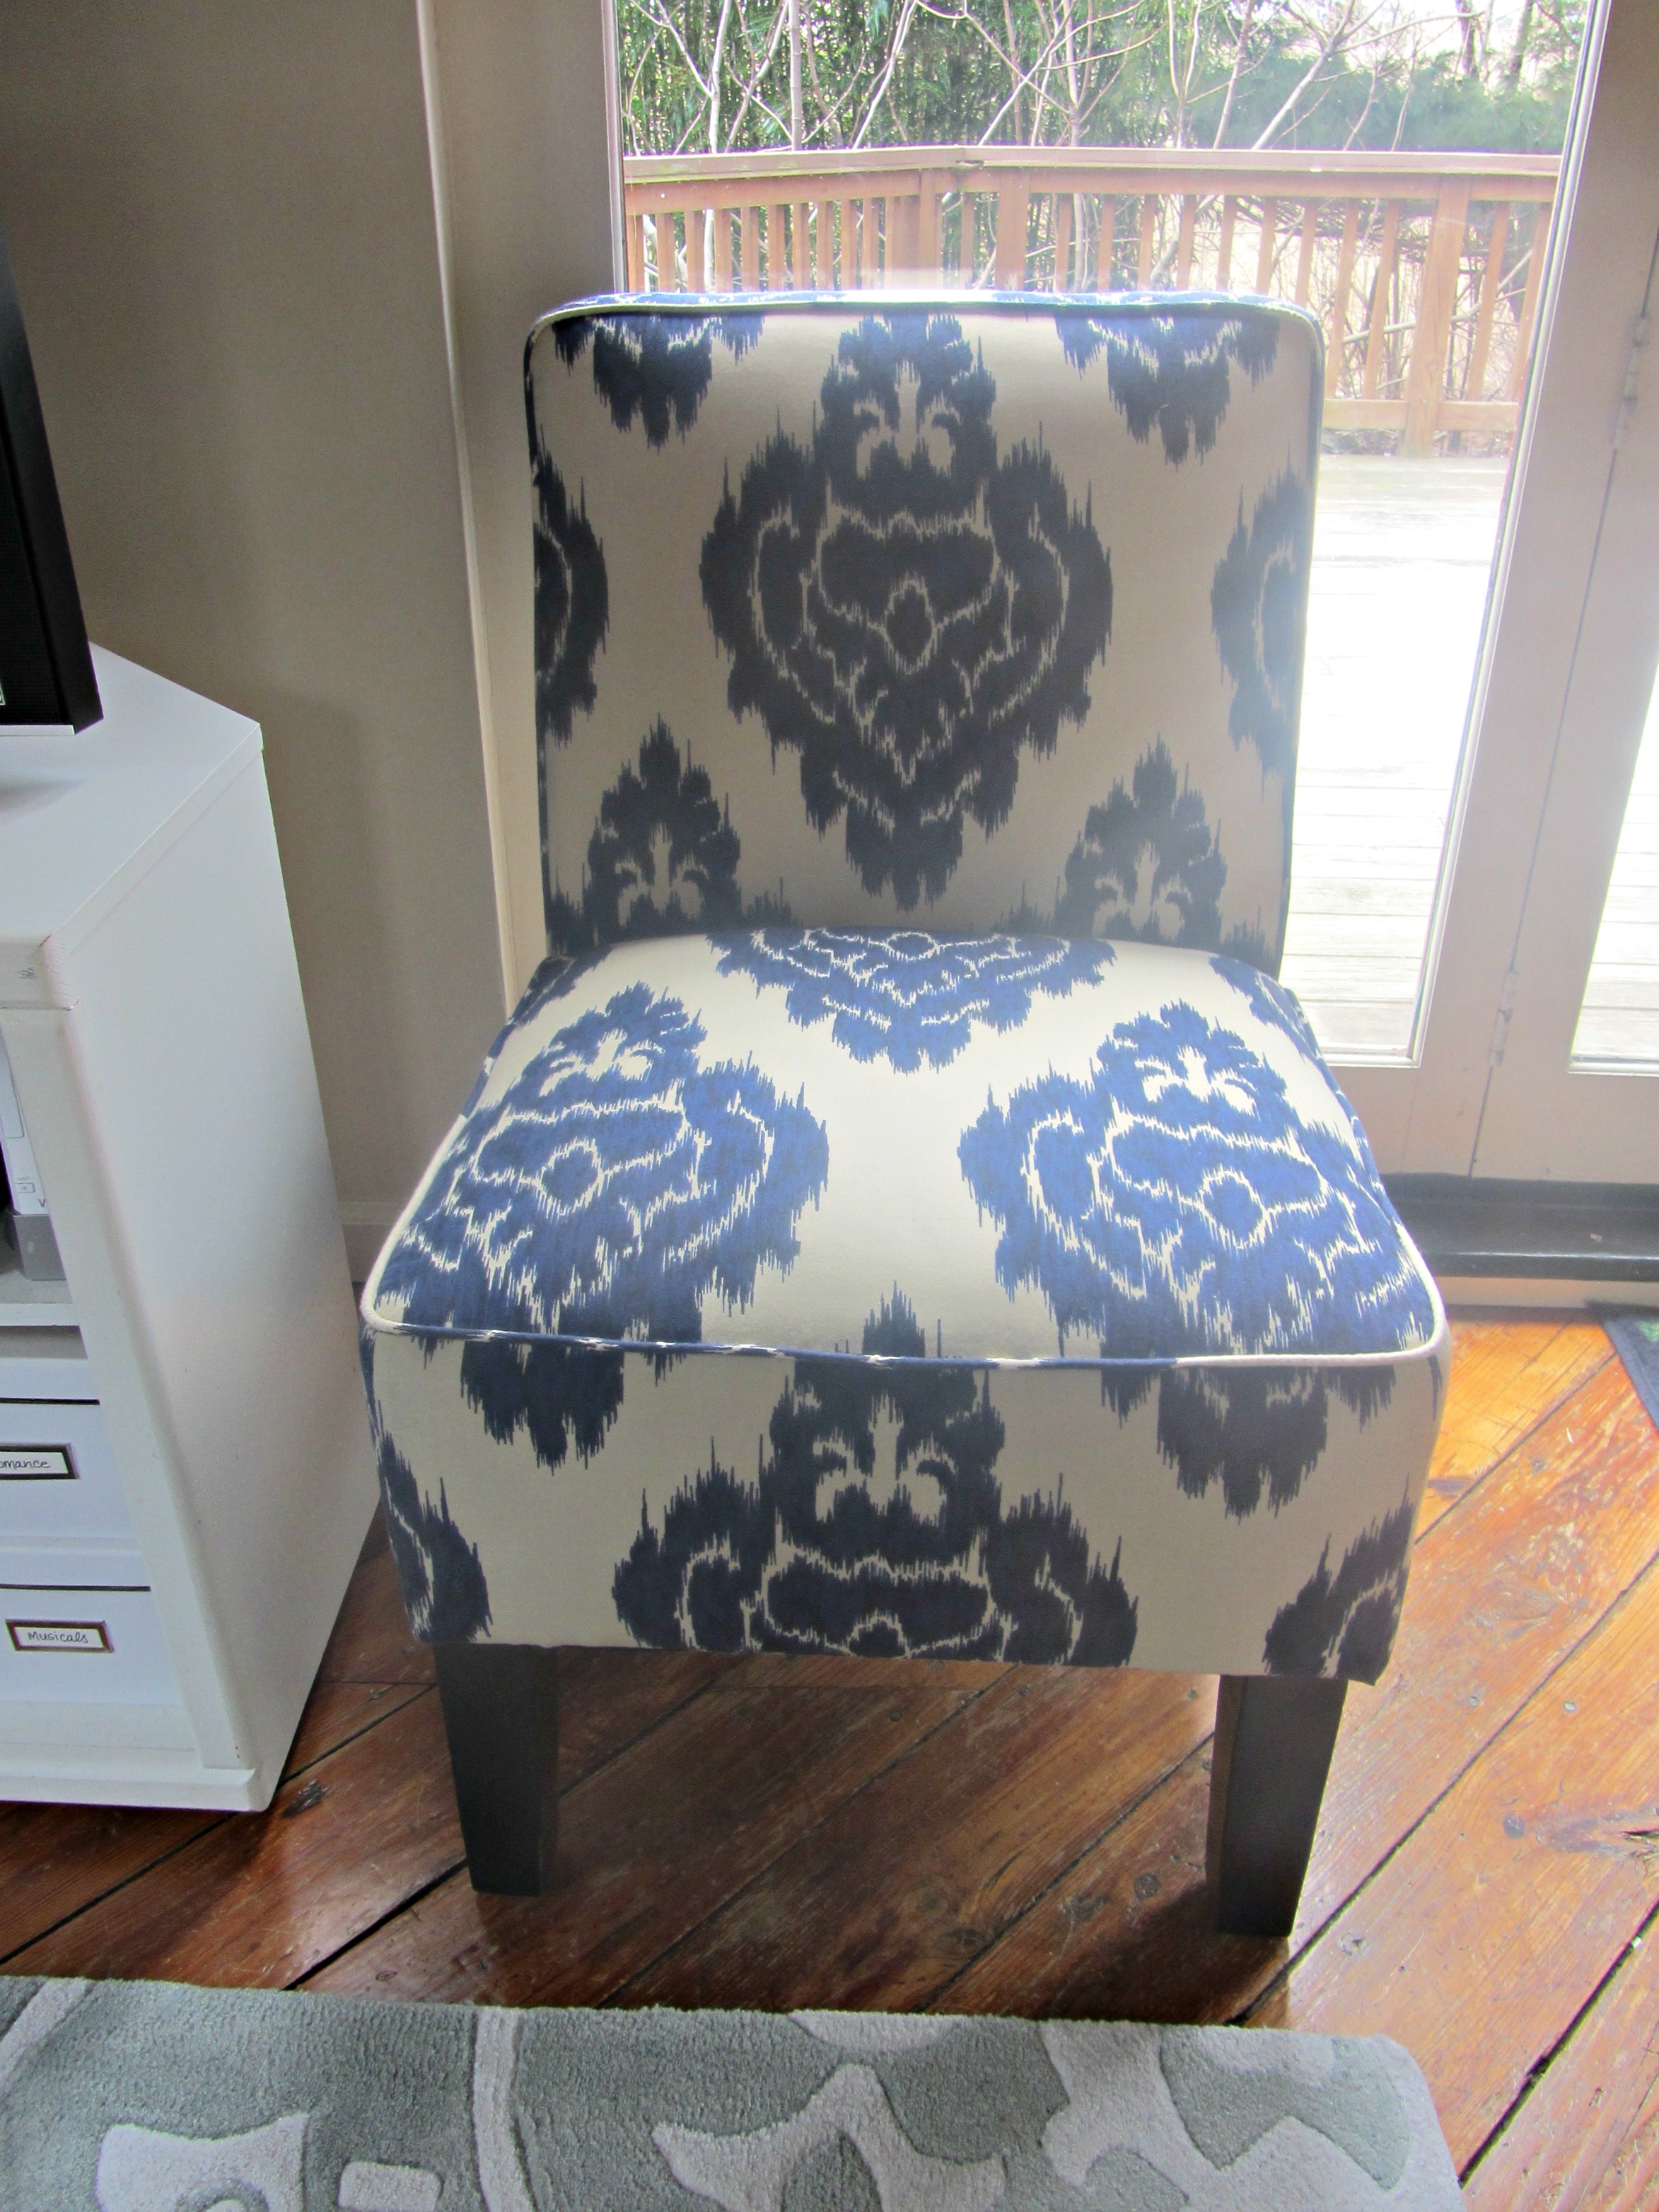
Another quick update was replacing my desk knobs with these clearance finds from Anthropologie (no longer available; clearance items go quickly!).

Image

Image

I forgot to take a before photo and I don’t really have a true after because my desk is a long way from being “design-worthy” (though I love the bones and quality of it! It’s an Ethan Allen desk, gifted by my parents when I had just begun college). Here is a somewhat before photo, where I didn’t even bother to try to declutter before taking the picture:

Image

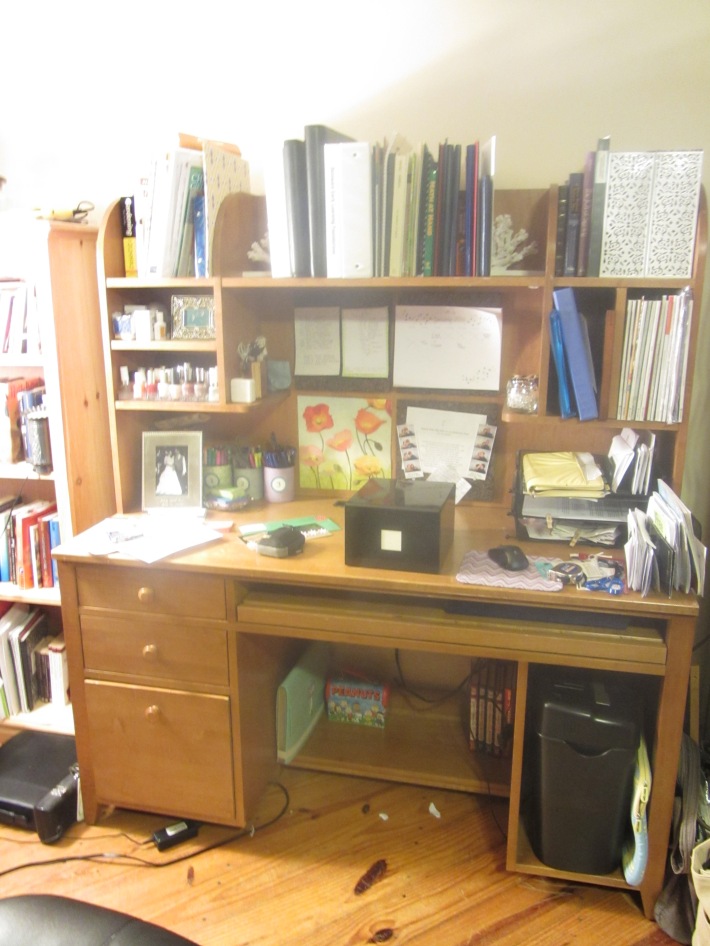
This desk has so much potential; I can’t wait to really bring it out. I’ve got a couple ideas of what to do with it. At first, I thought paint it all white or gray or a bold color. That would be a lot of work, though, and I just can’t see that happening any time soon especially since my husband is the painter in the family, and currently a first-year teacher. Summer time, maybe? So in the meantime, or maybe instead, I’m think any of these ideas would give me an aesthetic I’m happy with, for a fraction of the time:
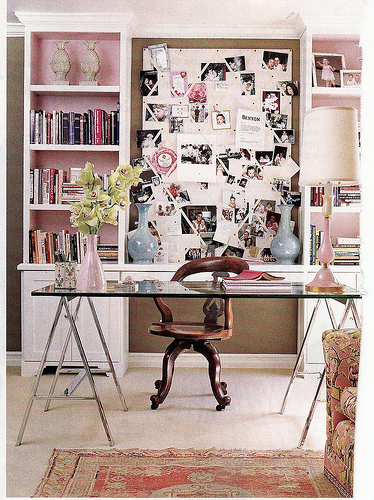
8d56c1efb836

(source: Decor Pad)

1. Paint the back of the hutch (including the cubby areas), just like painting the back of a bookshelf

2446e46e03d54001ed053f71f8604300

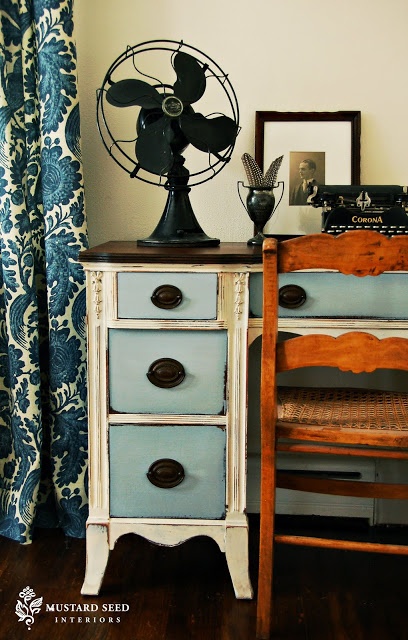
(source: Miss Mustard Seed)

2. Paint the drawer fronts (and back of hutch?) in a single color. Leave desk in natural color.

7b4895018990810a0aee9cfbca240710

(source: BHG)

3. Paint the drawer fronts in an ombre design. (Side note: I’m encouraged that the rest of the desk is not painted and still looks nice, since that is what I will most likely end up doing. :))

What do you think? Which look is your favorite?

Organize This: Online Accounts & Bill Paying

I’m sure that just about anyone nowadays is paying most, if not all, of their bills online. I have been for a while and find that it’s been real easy for me to stay on top of my payments. I keep a list on my corkboard (above my desk, and beside my calendar) that keeps track of what day each month recurring bills are due, and approximate/exact amounts. I keep this list both for bills that are automatically debited (so there’s never any issue of not having money in my account for said bill) and for bills that vary and I manually schedule each month (i.e. cell phone). Occasionally I will also have a bill due for a retail store, such as The Limited or Ann Taylor (remember that this blog is called “Thrift Seeking” … I love those stores and shop there a handful of times throughout the year, but it’s always on the clearance rack!). I get email reminders so paying the card(s) off on time is never an issue, but since I don’t pay these bills frequently it’s always a pain to remember my user id and password.  A while ago I started using a spare notebook to jot down my user id and password for various sites:

002004

Obviously I am showing you a blank page so as to keep my accounts private, but you can see that there is a line down the center of the page creating two columns, which was perfect for writing my user id on one side and the password on the other. (FYI, I have no problem remember passwords, just which one is for which site. Instead of writing my passwords in entirety I wrote the first few digits or the ending digits – i.e. “ca……” or “……45”; just enough to jog my memory.) This system worked wonderfully until my notebook started filling up so much that it took several minutes to find the right account/password. After a year or so, I decided to tweak this system and make it even more efficient.

007notebook

Using Martha Stewart stick-on tabs (available at Staples), leftover from my coupon organizing project (tutorial to come), I created sections for the categories I needed most: “loans/education”, “retailers”, “professional/employment”, and “other”. Now when I need to do less frequent tasks, such as pay off my Target card or log into my account for various school districts, I can flip to that section of my notebook and find that information in almost no time. The best thing is that this system is so easily updated. I left a few blank pages in each section so there is room to expand, and I can easily create new categories down the line if needed. Using some scrapbook paper and artwork from an old calendar I also prettied up the cover in a few minutes’ time.

Vintage Postcard

Awesome find of the day: a vintage postcard from 1968 in one of our second-hand books. It has a 6 cent stamp with a picture of Franklin Roosevelt, and awesome artwork to boot. I love this kind of stuff. 🙂  Once again, I’m having problems with my images being a proper size (anyone know why I can’t get them larger? It has nothing to do with my camera settings, I’m sure.). The text says, “Ain’t we the cats, though? Happy Geburstag!” A quick google search told me that “Geburstag” is birthday in German.

007 008

Aaaand immediately following this find, the fail of the day: washing our computer mouse with our dirty laundry. Don’t even ask how that almost happened. 😉 It was realized post-detergent and the start of the cycle, but luckily early enough that our mouse is still working.

Happy Saturday!

DIY Ornament Wreath

I’m posting after the fact, but after having the idea pinned for a year or two, this year I finally made an ornament wreath.

Image

I used the coat hanger method, which ended up working pretty well. Tutorial found here: http://www.shelterness.com/diy-christmas-wreath-from-round-tree-ornaments/

I was skeptical at first because the ornaments didn’t seam to lie in any particular/orderly fashion as I strung them, but you really have to pack them on tight and then it gets that nice layered look. I found what worked for me was to string them in alternating groups (i.e.: matte, shiny, glitter; shiny, matte, glitter; glitter, matte, shiny). When I initially did it and strung them in the same pattern (matte, shiny, glitter; repeat) I ended up with all the same finish up front and in the back and the wreath didn’t have the same depth. I bought the ornaments from Lowe’s and spent around $20-24 for almost 100 ornaments. Tip: Lowe’s/Home Depot is a great spot to look for ornaments. I bought all the ornaments for our tree there years ago. They have a decent selection (variety of colors/finishes) and the box sets are reasonably priced. In the end I used about 3/4 of the ornaments. The dollar store is also a good option for ornaments. You’ll certainly spend less there, but you will also have to hot glue all the caps on the ornaments as they come off easily. The caps on the ornaments I bought from Lowe’s were pretty secure so I skipped the hot glue step. As I strung them on and the wreath filled out, one or two caps popped off but I was able to easily pop the ornament back on. To close off the wreath I had my husband create a hook and latch closure with the coat hanger. I hung the ribbon from the hook, instead of tying it around the actual wreath like most of my inspiration photos.

Organize This: Tax Documents

This is an idea that I came up with a few years ago. It started out of convenience. I had an empty accordion file sitting unused since my college days; why not put it to use storing tax documents? The more I thought about it, the more I realized how perfect it was. Not only is all my tax information in one place and easy to transport (especially helpful since my first year filing I used my dad as a resource, and also if I would ever need to pay an accountant or firm to help me file in the future if my return gets more complicated), but there are typically 7 slots in an accordion file, or in other words, space to store 7 years of tax documents. Since you are only required to keep tax documents for 7 years, that couldn’t be more perfect. Once I run out of space, it’s a very easy and visual reminder that it’s time to shred.

Image

I recently “upgraded” to a pretty accordion file (the Martha Stewart line at Staples) and even attached one of her adhesive bookplates so I could label the front of it. Inside are 7 slots, and I stick a manila folder in each slot and label the year. As I get tax-related documents I can easily file them in the folder and then everything’s all together when I’m ready to sit down and complete my tax return.

Image

The inside is not quite pretty yet, but switching out the basic manila folders for some patterned ones and/or making the labels consistent (i.e. not a mix of label tape and handwriting) would easily solve that.

Hope that helps you get a bit more organized for tax season this year!